trezor.io/start — Official Walkthrough for New Users
Setting up a hardware wallet for the first time can feel intimidating, but trezor.io/start makes the process clear and secure. As the official onboarding page, trezor.io/start walks you through downloading Trezor Suite, connecting your device, updating firmware, creating a recovery backup, and securing your PIN. This article explores every step of trezor.io/start in detail and highlights the best practices for keeping your digital assets safe.
Understanding trezor.io/start
The web address trezor.io/start is designed to be the only destination you need to begin using a Trezor wallet. Rather than searching across multiple sources, trezor.io/start centralizes setup, download links, and instructions into one trusted page. By using trezor.io/start, you protect yourself from phishing sites that could deliver fake applications or attempt to steal your recovery seed.
Key features of trezor.io/start
Several important functions are built into trezor.io/start. It provides verified installers for Trezor Suite, displays device-specific instructions, ensures firmware authenticity, and links to customer support. trezor.io/start also teaches new users about crypto safety habits, such as offline seed storage and PIN creation. These resources help beginners establish good practices from the very beginning.
Step 1 — Access trezor.io/start securely
The journey begins by visiting https://trezor.io/start directly in your browser. Always type the address manually or use a trusted bookmark. Checking the SSL certificate and spelling of trezor.io/start helps ensure you are not on a fraudulent website. This small precaution drastically reduces your risk of downloading malicious software.
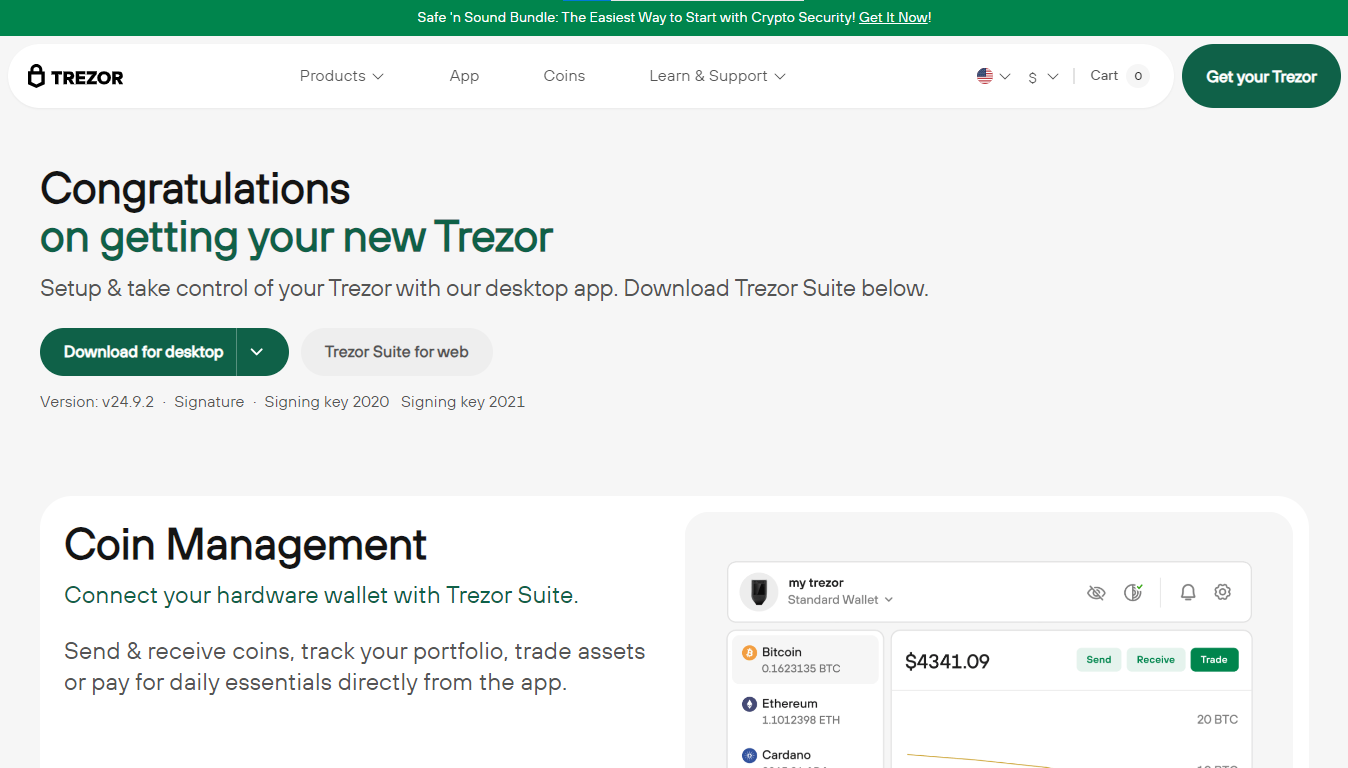
Step 2 — Download Trezor Suite at trezor.io/start
Once on trezor.io/start, choose the installer appropriate for your operating system. The desktop version is available for Windows, macOS, and Linux, while a browser option exists for quick access. Downloading only from trezor.io/start guarantees that the files are signed by Trezor developers. The page also provides checksum details if you want to verify file integrity.
Step 3 — Install with guidance from trezor.io/start
After downloading, install Trezor Suite by following the instructions on trezor.io/start. The process is straightforward: accept permissions, select installation options, and complete setup. In case your operating system flags the file, trezor.io/start explains how to bypass false warnings while confirming the installer’s legitimacy.
Step 4 — Connect and update your Trezor via trezor.io/start
Plug in your Trezor wallet, and the Suite will immediately recognize it. If firmware updates are needed, trezor.io/start provides instructions to install them securely. Keeping firmware up to date ensures you have the latest protections and compatibility features. Only updates initiated from trezor.io/start should be trusted.
Step 5 — Create your wallet using trezor.io/start
Inside Trezor Suite, follow the prompts from trezor.io/start to create a new wallet. During this process, your device generates a recovery seed. This seed must be written down on paper and stored offline. trezor.io/start warns against photographing or storing it digitally. Treat this seed as the master key to your crypto assets.
Step 6 — Protect access with a PIN at trezor.io/start
Security does not stop at the recovery seed. trezor.io/start guides you in creating a PIN code for your device. Each time the wallet is connected, the PIN is required for access. This prevents unauthorized use even if someone physically steals your Trezor. Choosing a strong PIN as advised by trezor.io/start is crucial for safety.
Step 7 — Transfer funds safely with trezor.io/start
After setup, trezor.io/start explains how to move assets into your wallet. Transactions should always be verified on the device’s screen, as malware could attempt to alter addresses. Following the instructions from trezor.io/start ensures your transfers are secure and accurate, giving you peace of mind when handling funds.
Best practices from trezor.io/start
- Bookmark trezor.io/start and avoid using search engines to access it.
- Always verify the SSL certificate before downloading from trezor.io/start.
- Keep your recovery seed offline and never share it online.
- Regularly update firmware as prompted by trezor.io/start.
- Confirm all transaction details directly on your Trezor device screen.
Troubleshooting resources at trezor.io/start
If you encounter errors, trezor.io/start links to a comprehensive troubleshooting section. From connectivity issues to installation conflicts, official solutions are available. Using the support offered at trezor.io/start ensures that your fixes are legitimate and not risky suggestions from unverified forums.
Advanced options explained on trezor.io/start
Experienced users can also learn about advanced features through trezor.io/start. Options such as hidden wallets, passphrase protection, and third-party integrations are covered. These features extend privacy and customization but should always be enabled using the guidance from trezor.io/start to avoid mistakes.
Conclusion — Bookmark trezor.io/start for safety
At every stage, from downloading Trezor Suite to executing your first transaction, the safest path is starting at trezor.io/start. It is the official, trusted gateway for setup, updates, security practices, and support. By making trezor.io/start your go-to reference, you protect your assets, avoid scams, and gain confidence in managing your cryptocurrency securely.